


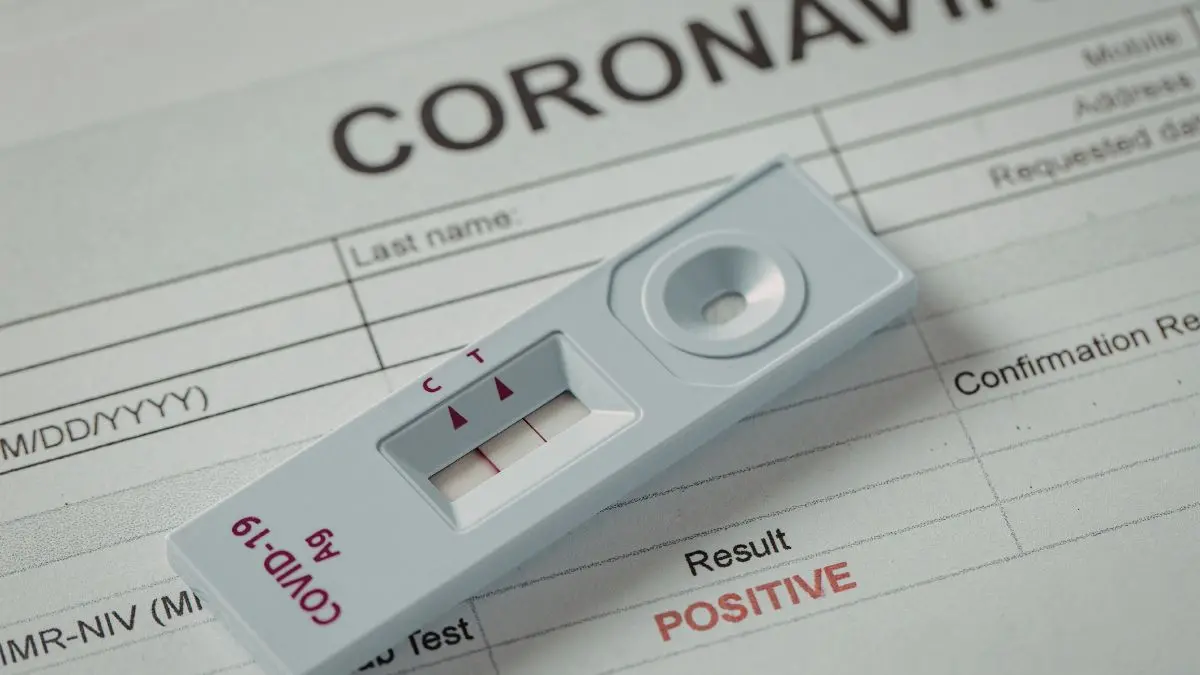


Radiographic positioning techniques refer to the standardized methods used to position a patient’s body and align the x-ray beam to obtain accurate, diagnostic-quality images of internal structures. These techniques are crucial in medical imaging to ensure consistency, reduce exposure, and allow precise anatomical visualization—especially in common procedures like a chest X-ray, where proper alignment is essential for accurate diagnosis.
Why Radiographic Positioning Matters
Whether you’re working with a portable x-ray unit or a full radiology suite, proper technique directly impacts the diagnostic value of an image. Without it, physicians might miss fractures, masses, or other crucial findings.
This article covers the full scope of radiographic positioning techniques—what they are, why they matter, and how healthcare professionals can refine their skills. If you’re in imaging, urgent care, or any diagnostic setting, this guide is designed to provide practical and detailed insights to elevate your accuracy.
How Do Radiographic Positioning Techniques Improve Diagnostic Imaging?
Correct positioning techniques ensure that the anatomical area of interest is displayed clearly, without overlapping structures or distortion. They also allow radiologists to identify pathologies more accurately while keeping radiation exposure to a minimum. Mastering positioning enhances diagnostic efficiency and reduces unnecessary image retakes.
Fundamental Principles of Radiographic Positioning
Before diving into specifics, understanding the core principles behind these techniques helps form a strong foundation. Each principle influences image quality, patient safety, and diagnostic clarity.

These principles apply whether you’re capturing a basic chest x-ray or conducting complex spine studies.
What are the Most Common Radiographic Positioning Errors?
Incorrect radiographic positioning can degrade image quality and misrepresent pathology. Some of the most frequently encountered errors include:
- Rotation of the Body Part: Leads to asymmetrical images, especially in chest or abdominal imaging.
- Incorrect Central Ray Direction: Causes elongation or foreshortening.
- Improper Receptor Alignment: Can crop out essential anatomy.
- Motion Blur: Patient movement during exposure.
- Marker Errors: Omitting or misplacing anatomic side markers confuses interpretation.
Fixing these issues involves patient reeducation, double-checking alignment, and adapting based on body habitus.
Radiographic Positioning Techniques by Body Region
Radiographic positioning plays a crucial role in producing clear, diagnostic-quality images tailored to each anatomical area. Proper alignment, centering, and patient cooperation are key to reducing errors and ensuring accurate interpretation. What follows is a detailed overview of positioning methods categorized by specific body regions—from the chest and abdomen to the spine and extremities—each with common techniques and pitfalls to be aware of.
Chest and Thorax
Chest x-rays are among the most requested imaging procedures in urgent care and hospitals. Positioning must be precise to evaluate the heart, lungs, and ribs.
- PA (Posteroanterior) View: Patient stands facing the detector. The shoulders are rolled forward to move the scapulae out of lung fields.
- Lateral View: Side of the body placed against the detector, arms raised.
- Common Error: Not taking a deep inspiration—can obscure lung markings.
Abdomen
Used for detecting obstruction, perforation, or organ enlargement.
- Supine (KUB): Centered at the iliac crest. Legs straight, arms by the side.
- Erect Abdomen: Detects air-fluid levels. Center at 2 inches above the iliac crest.
- Common Error: Poor bowel prep or incorrect centering.
Spine
Includes cervical, thoracic, and lumbar views.
- Lateral Lumbar Spine: Requires patient to lie on their side with knees flexed.
- AP View: Centered on L3-L4.
- Common Error: Tilted pelvis leading to poor vertebral alignment.
Upper Extremities
Includes fingers, hands, wrists, elbows, shoulders.
- PA Hand: Palm down on the detector, fingers spread.
- Oblique and Lateral Views: Show joint spaces and fractures more clearly.
- Common Error: Not using proper angulation in obliques.
Lower Extremities
Focuses on hips, knees, ankles, feet.
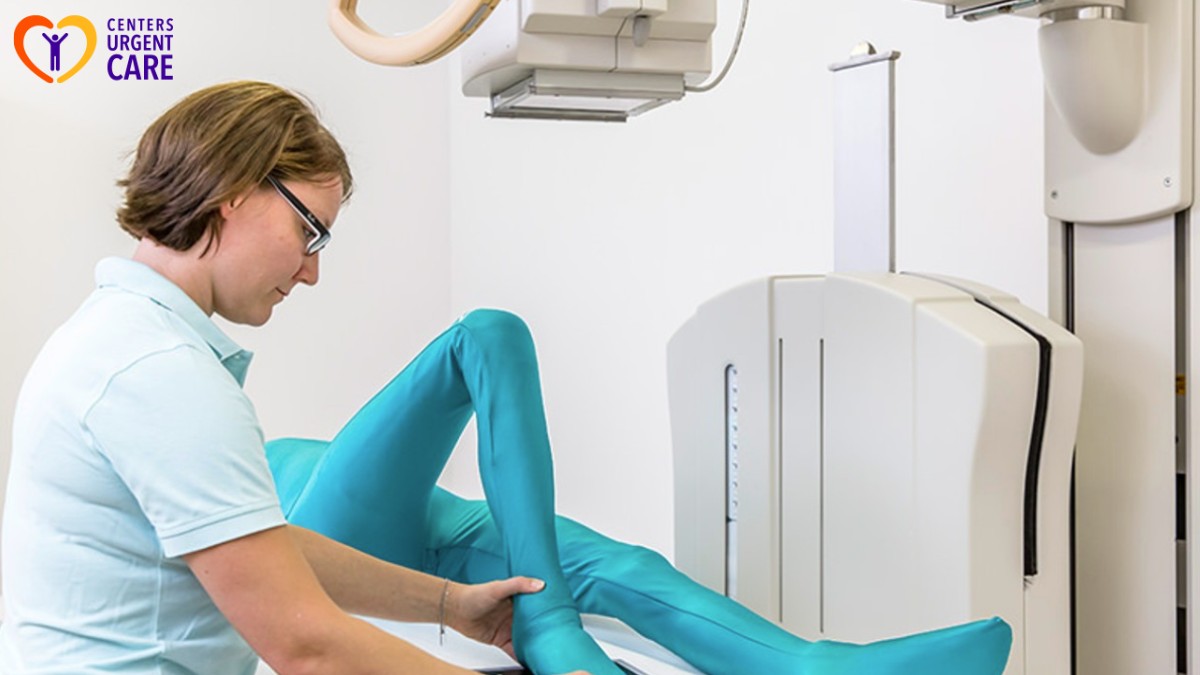
- AP Knee: Leg extended, central ray angled 5 degrees cephalad.
- Lateral Knee: Requires the patient to lie on their side with the knee slightly flexed.
- Common Error: Over-rotation, obscuring the joint space.
What Tools Help in Accurate Radiographic Positioning?
Mastering these techniques often requires support tools to reduce error. Here are a few essentials:
- Positioning Sponges and Blocks: Maintain anatomical orientation during exposure.
- Immobilization Devices: Especially useful for pediatric or trauma patients.
- Anatomic Marker Sets: Clearly indicate left/right and other critical data.
- Goniometers and Calipers: Measure angulation and body part thickness.
- Positioning Charts: Offer a quick reference for less common views.
Using these not only improves image quality but ensures standardized practices across radiology departments.
How To Train and Improve in Radiographic Positioning?
Even seasoned radiologic technologists benefit from ongoing practice to maintain precision and stay updated with advancements. Professionals can stay sharp by regularly reviewing positioning manuals such as Merrill’s Atlas of Radiographic Positions, which remain invaluable references. Observing peer techniques—especially from senior technologists—can offer fresh insights into effective positioning and setup. Simulated practice labs provide a safe environment to experiment and refine skills without radiation risks.
Enrolling in continuing education courses ensures technologists remain aligned with evolving standards, while case study reviews help bridge the gap between technique and clinical outcomes. This ongoing commitment to refinement not only enhances accuracy but also reduces repeat rates and improves overall patient care. Similarly, just as continuous learning improves professional practices, understanding emotional and behavioral cues early can profoundly impact caregiving—explore more in our article “Signs of Trauma in Young Children: A Parent’s Guide.”
Tips to Avoid Common Mistakes in Positioning
Even well-trained techs can run into challenges. Here are practical strategies to avoid typical pitfalls:
- Always communicate with the patient—explain every step.
- Double-check landmark alignment before exposure.
- Use lead markers consistently.
- When in doubt, reference protocols or ask a peer.
- Adjust for patient mobility, age, and condition.
High-Quality Imaging Support at Centers Urgent Care
Whether you’re a patient needing quick imaging or a healthcare provider seeking precise diagnostics, Centers Urgent Care provides fast, high-quality urgent care services, including radiologic imaging. Our experienced technicians use the latest technology and adhere to proven radiographic positioning techniques to ensure clear, reliable results—every time.
Looking for dependable urgent care in NY with diagnostic imaging services? Contact us today or walk in for streamlined care you can trust.